Also, this has been quite the learning curve for me, before hand my past builds have been out of wood. K9 is however made of Styrene so the rules are somewhat different. The filler I originally used 'Spackle' which I've used on my other builds DID NOT work the slightest movement of the body and it would flake off. So conducting more research and talking to people who are in the know I decided to use JB Weld. However I had to get all the Spackle off first, which meant a lot of sanding.
Also although have the main parts for K9 I dont have the little bits, like the ears, the neck the tail even the buttons on the control panel.
The buttons apparently are very expencive, least the original ones. I do however have friends who own an online electronic store so I hit them up. I found this: http://www.bgmicro.com

the neck I had to order some plastic ducting, down side is the minimum order was for 5 feet. Ordered the 4" diameter tubing from: http://www.mcmaster.com

So on to the photos from the past three days.
Day Three

 |
| Reinforced the insides with expanding foam this will make the structure a little stronger |
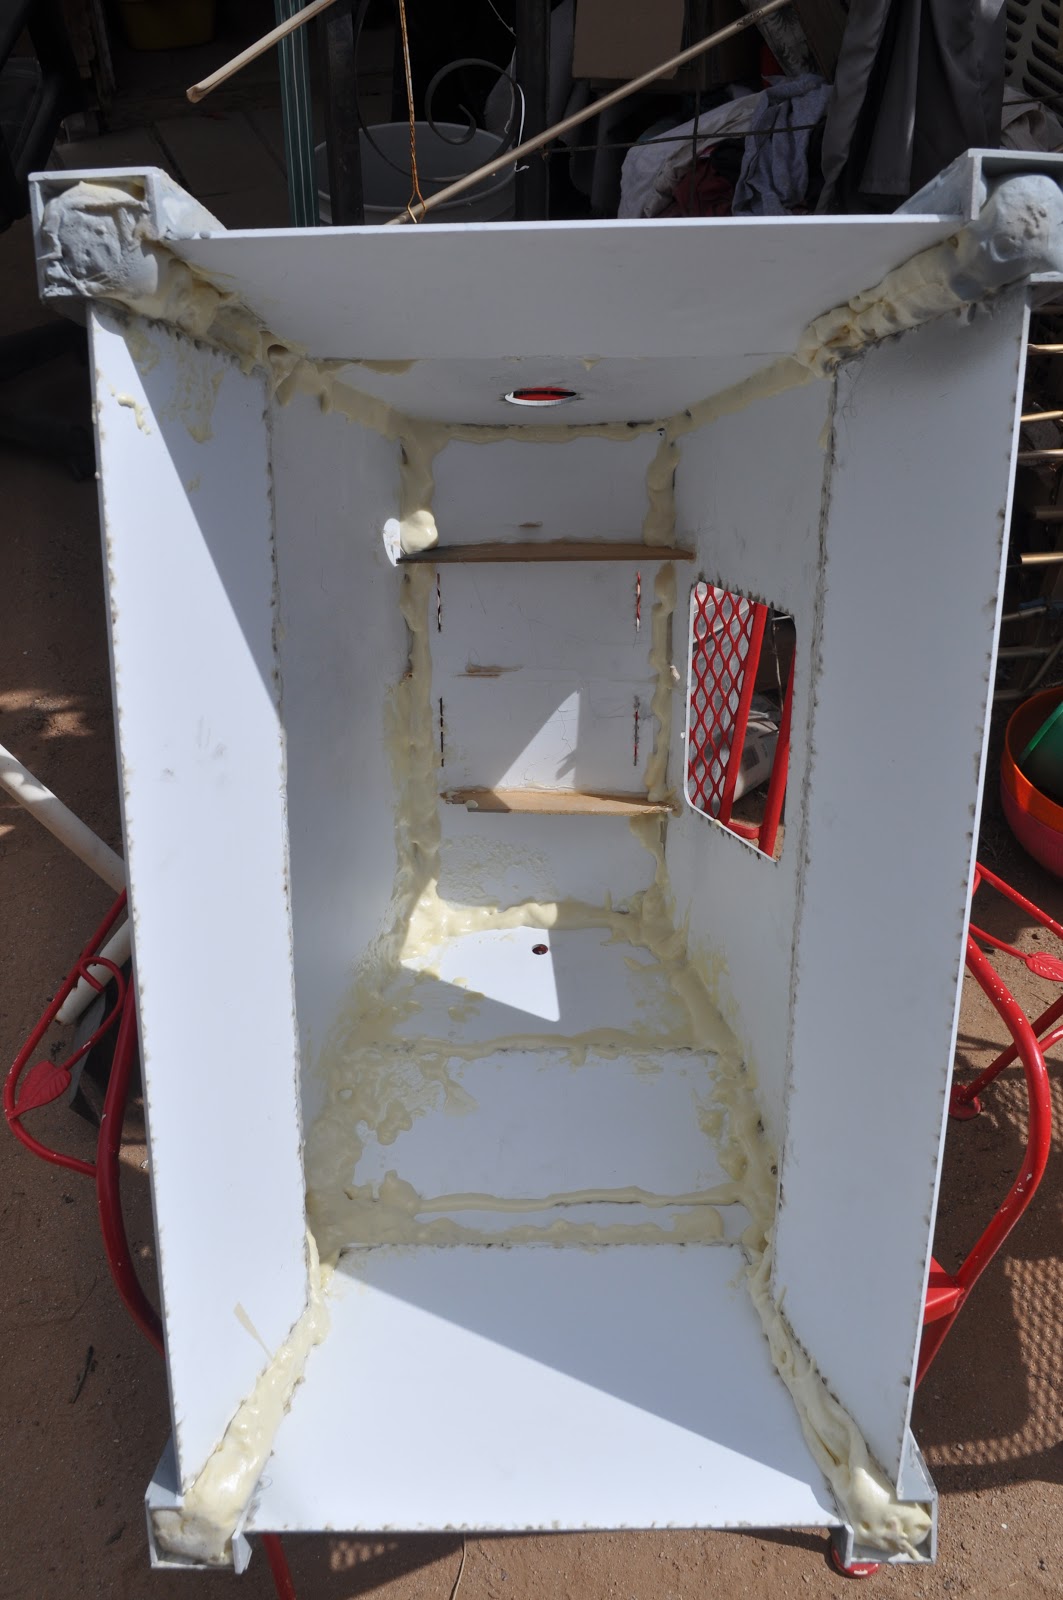
 |
Day Four


Day Five


No comments:
Post a Comment