Saturday, March 10, 2012

K-9 Build - Day 9

Actually got a LOT done today, least that's how I feel and that makes me feel good.

The light blue metallic paint I found at AutoZone worked a treat, for some it may be a little to blue but personally I LOVE it.  Like most of my builds I'm not building a replica I'm building my self a K-9, making it mine.  And just like my TARDIS I wanted it weathered, beaten up, rusty and with more character.

So here's the newest set of photos:


Both the head and body now coated in the 'light blue metallic'

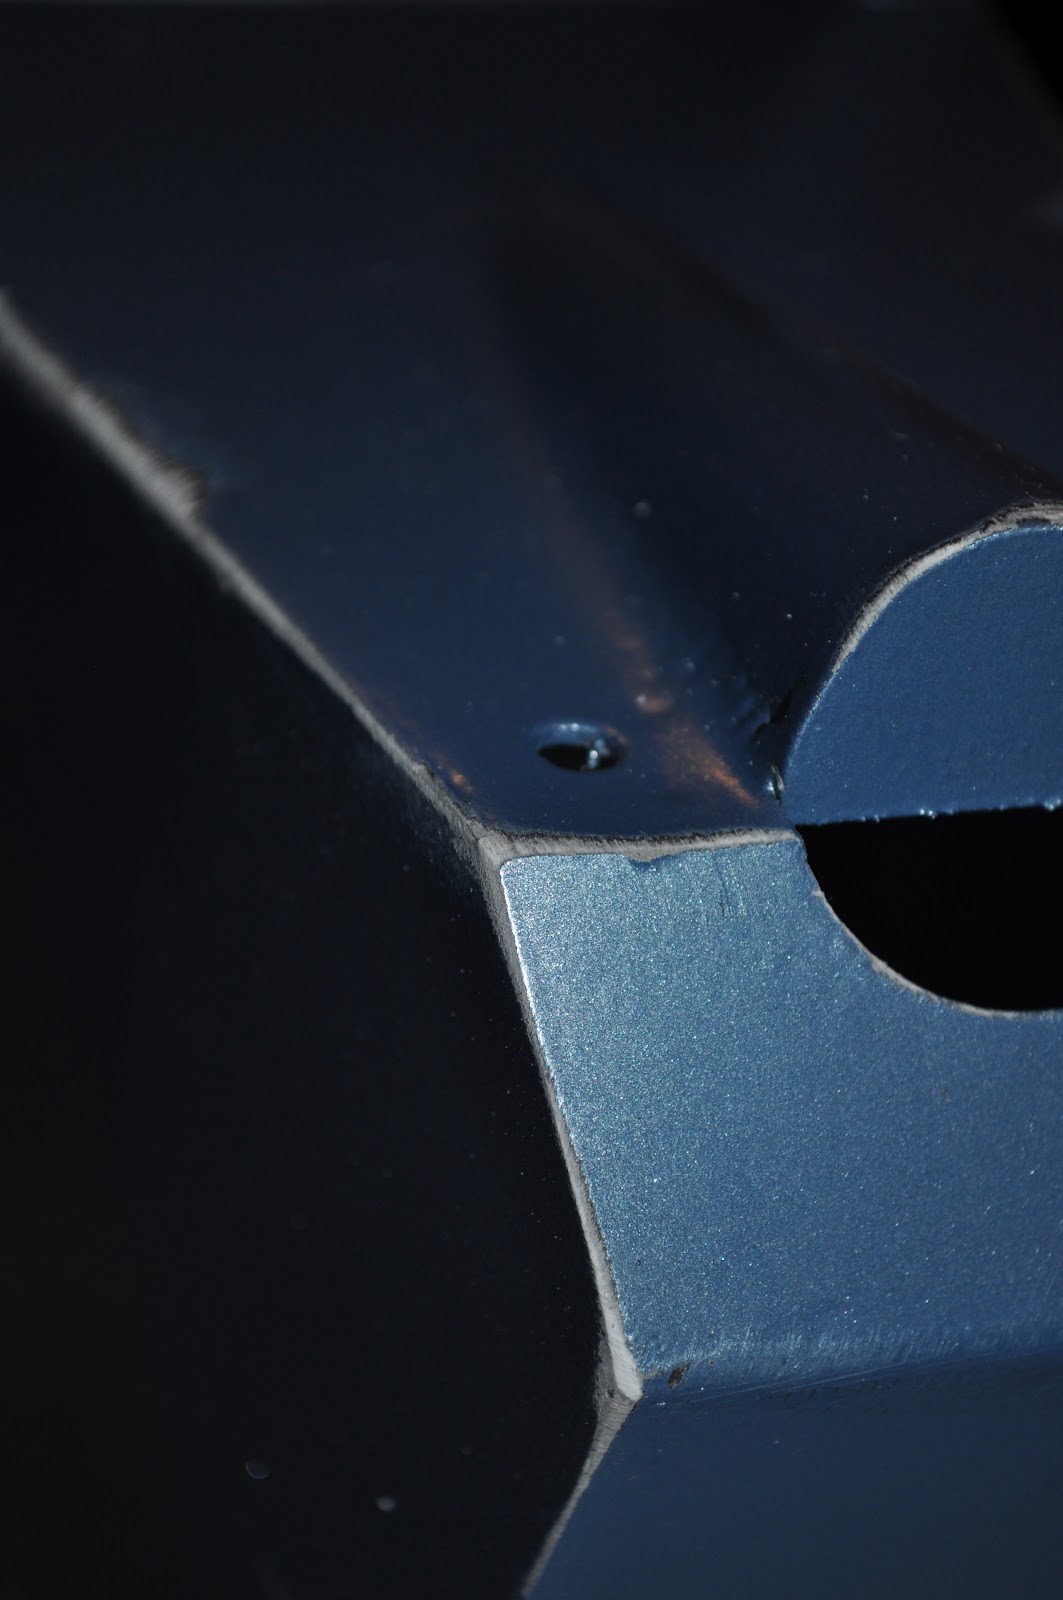
 Using sandpaper I roughed up the edges giving it a more beaten up, used look.


With a selection of browns and copper paint I set to work adding rust.


The collar is the material my wife found at Joanne's, I simply sewed it and then added some Velcro to hold it closed.

Still need to order the buttons for the control panel, and I also need the sucker for the visor, a dog tag,  put together LEDs for the eyes and I have to look into making the whole thing remote control  but all in all as it stands right now I'm so very very pleased with how he looks.

Handles:

 I actually found the handles at Home Depot, each cost about $4 and are pretty close to the original look.  The original handles actually went out of production years ago. 


View Screen:

I read on a forum how some people have placed those digital photo frames inside the body as the view screen.  What I didn't know is they can also play video so I may just have to look into getting myself one.


Quick Update:

With the help of the guys and girls of http://whoprops.proboards.com/ I was able to find a US based company that stocks the colour lenses for the control panel, they also stock the buttons/switches BUT they run at about $12 a piece still, so Ive ordered the lenses roughly $2 each and they should be here in the next few days.  Ill probably just put together a simple LED circuit to illuminate the lenses.

Pity the buttons are so expensive as I would have liked for them to have operated some of the functions.

The website is: http://www.newark.com/ and the part numbers are:

3 x 66F9713 - Red  
3 x 66F9715 - Green
3 x 66F9716 - Blue
3 x 66F9714 - Amber/Yellow


Friday, March 9, 2012

K-9 Build - Days 7-8

Not a lot getting done right now, the wind is having a major effect on me getting out there to work on K-9.  I dont have a fancy workshop or garage to work in so I have to basically work when the weather lets me.

With that said I did get a bit done yesterday and even managed to mock up most of the build.

Both my bellows for the tail and the ducting for the neck turned up yesterday and so I decided to see what it would all look like....

So here's the latest set of photos:

DAY 7

These are where the ears are gonna sit


The tails, part steel rod part antenna
 DAY 8


Side Note: My wife texted me saying she was at Joanne's (a craft and fabric store) so I send her a photo of K-9s collar and asked her to keep an eye out for something similar.  Heres what she found.....

...Perfect

Now all I have to do is turn it in to the collar.


Buttons for the control panel:
so before I said that I may have found a cheaper alternative to the $12 buttons at BGMicro, well unfortunately they were way to big.  So it got to searching again and managed to find the exact same buttons as before but at a fraction of the price.

The company is called CPC components ltd. - https://cpc.farnell.com still based in the UK though so I need to get them sent to my Dad or something and he can ship it out to me in the US

APEM - A0161B - 18X24MM LENS RED
APEM - A0161C - 18X24MM LENS AMBER
APEM - A0161F - 18X24MM LENS BLUE
APEM - A0161E - 18X24MM LENS GREEN

APEM - A0101X - 18MM LATCH P-BUTTON 18X24

total will still run about $50 for the 12 buttons/switches plus the right colour lenses but if something worth doing its worth doing right. 


Paint

So I went with a sort of Gun metal colour spray, its metallic and a nice colour BUT when I brought K-9 in to the house last night he looked black, so today I think I'm gonna go get a different colour.  Ideally I'd like to go with the 'School Reunion' colour which is a silver/blue but finding that here in Tucson is proving quite the task for me.  Again this maybe something Im going to have to simply find online.

Quick Update:

I just found a spray that I believe to be perfect for the 'School Reunion' silver/blue that I wanted. I decided to check out AutoZone and I found 'Light Metallic Blue' that after I sprayed on the body it looks beautiful.


Wednesday, March 7, 2012

K-9 Build - Days 3 to 5

The past 3 days have been slow as far as progress, not only do I have to wait for filler to dry and primer and whatever else but I've come down with a cold but I have been working through it.  Just at a pace slower than i would have liked.

Also, this has been quite the learning curve for me, before hand my past builds have been out of wood.  K9 is however made of Styrene so the rules are somewhat different.  The filler I originally used 'Spackle' which I've used on my other builds DID NOT work the slightest movement of the body and it would flake off.  So conducting more research and talking to people who are in the know I decided to use JB Weld. However I had to get all the Spackle off first, which meant a lot of sanding.

Also although  have the main parts for K9 I dont have the little bits, like the ears, the neck the tail even the buttons on the control panel.

The buttons apparently are very expencive, least the original ones.  I do however have friends who own an online electronic store so I hit them up.  I found this: http://www.bgmicro.com
And after a couple of emails, I was able to get all the right colour lenses too.  So we shall see next week if these are going to work for me.

the neck I had to order some plastic ducting, down side is the minimum order was for 5 feet.  Ordered the 4" diameter tubing from: http://www.mcmaster.com

Lastly the tail gaiter....  The original was actually the steering rack bellow from a Mini, pretty difficult to find here in the US so I did a quick eBay search and found a sort of universal one, fingers crossed that will be good enough...

So on to the photos from the past three days.

Day Three

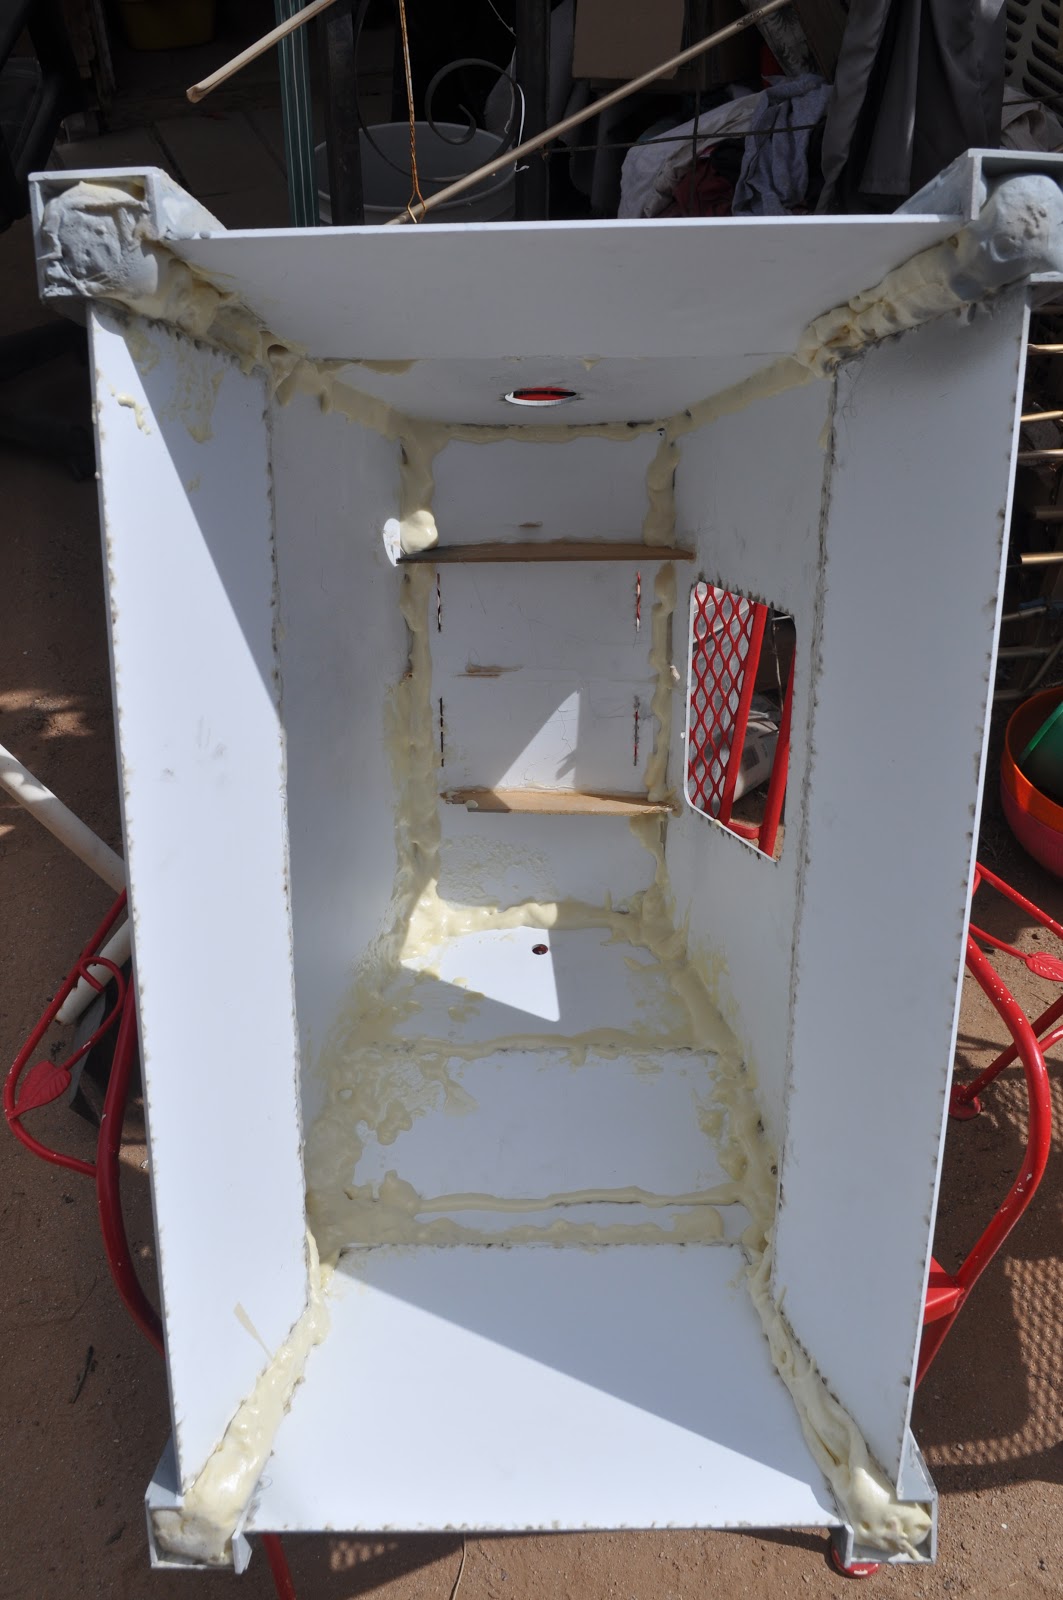
Reinforced the insides with expanding foam this will make the structure a little stronger


Day Four


Day Five


Cybermat Earrings - $12

With it being such a windy day I couldn't do a lot to my K9 build so I had an idea, I saw these little Cybermats a while ago.

And today I decided that they were a nice size for earrings, so I built a pair for my wife and a pair for my daughter, then I thought, I wonder if other people would like a pair...

So here's what I'm thinking, if your interested in a pair of Cybermat earrings click the "Buy Now" button (USA ONLY), they are $12 a pair and look like this:


* The earrings may look a little different from those pictured

Saturday, March 3, 2012

K-9 build - Days 1 and 2

Oh yes.... as a child I wanted my own K9 I even built a small one out of wood at school once.  And in all honesty owning a full size version was something I never thought I'd be able to do.

Until now.......

First things first, I had to find plans, and finding them is a NIGHTMARE.  I kinda ran in to the same problem I had when I built the TARDIS however, I remembered something I was told by a guy I met at Hurricane Who who already built himself a K-9, and that was that he bought the shell from someone who had the machine to cut out the parts.... so again my search began.  Checking out all the K9 builders forums possible:


The first and the last are pretty much where I spend all my time, the last one is actually a forum for movie replicas and is where I get a LOT of inspiration and advice from people who have worked on big name films....

Anyway, after about 3 or 4 days of searching I found him: http://www.alexkung1.com/ the guy who not only has the ability to cut out the shapes of K9s shell BUT also he offers an R2D2 kit as well (although its around the $1000 mark) which just so happens to be my next build after K9....

Anyway, so my parts arrived and now to assembly.....

DAY ONE


Gluing all parts together and using tape to hold it secure


DAY TWO


Right now just waiting for the filler to dry before I sand down the corners and make all the edges nice and smooth.

Thursday, March 1, 2012

Torchwood: Miracle Day - Soulless Mask

When I watched Torchwood: Miracle Day and saw the "Soulless Masks" I thought how cool they looked but also thought I could probably make one of them.  But with all my other projects it was something that got pushed to the way side and I didnt think about it again until today when I was in Michael's (Arts and Craft store) and I spotted these foam cast eggs.


 Size wise it looked perfect, so I split it in half and began working on adding the design and cutting it out, the design is actually really easy, the same shape three times after cutting and a little smoothing it out I primed it


Once the primer was dry I used a slightly off white, kind of egg shell colour.  Now, I did a little internet search and found you could buy a Soulless Mask at some point either that or it was something Stars was giving away in some promo pack, either way the mask they offered was white, however when I watched Miracle Day the masked seemed to me more the egg shell colour so I decided to go that way....

Adding the tear drop and a little black mesh behind the eyes and mouth the mask was done