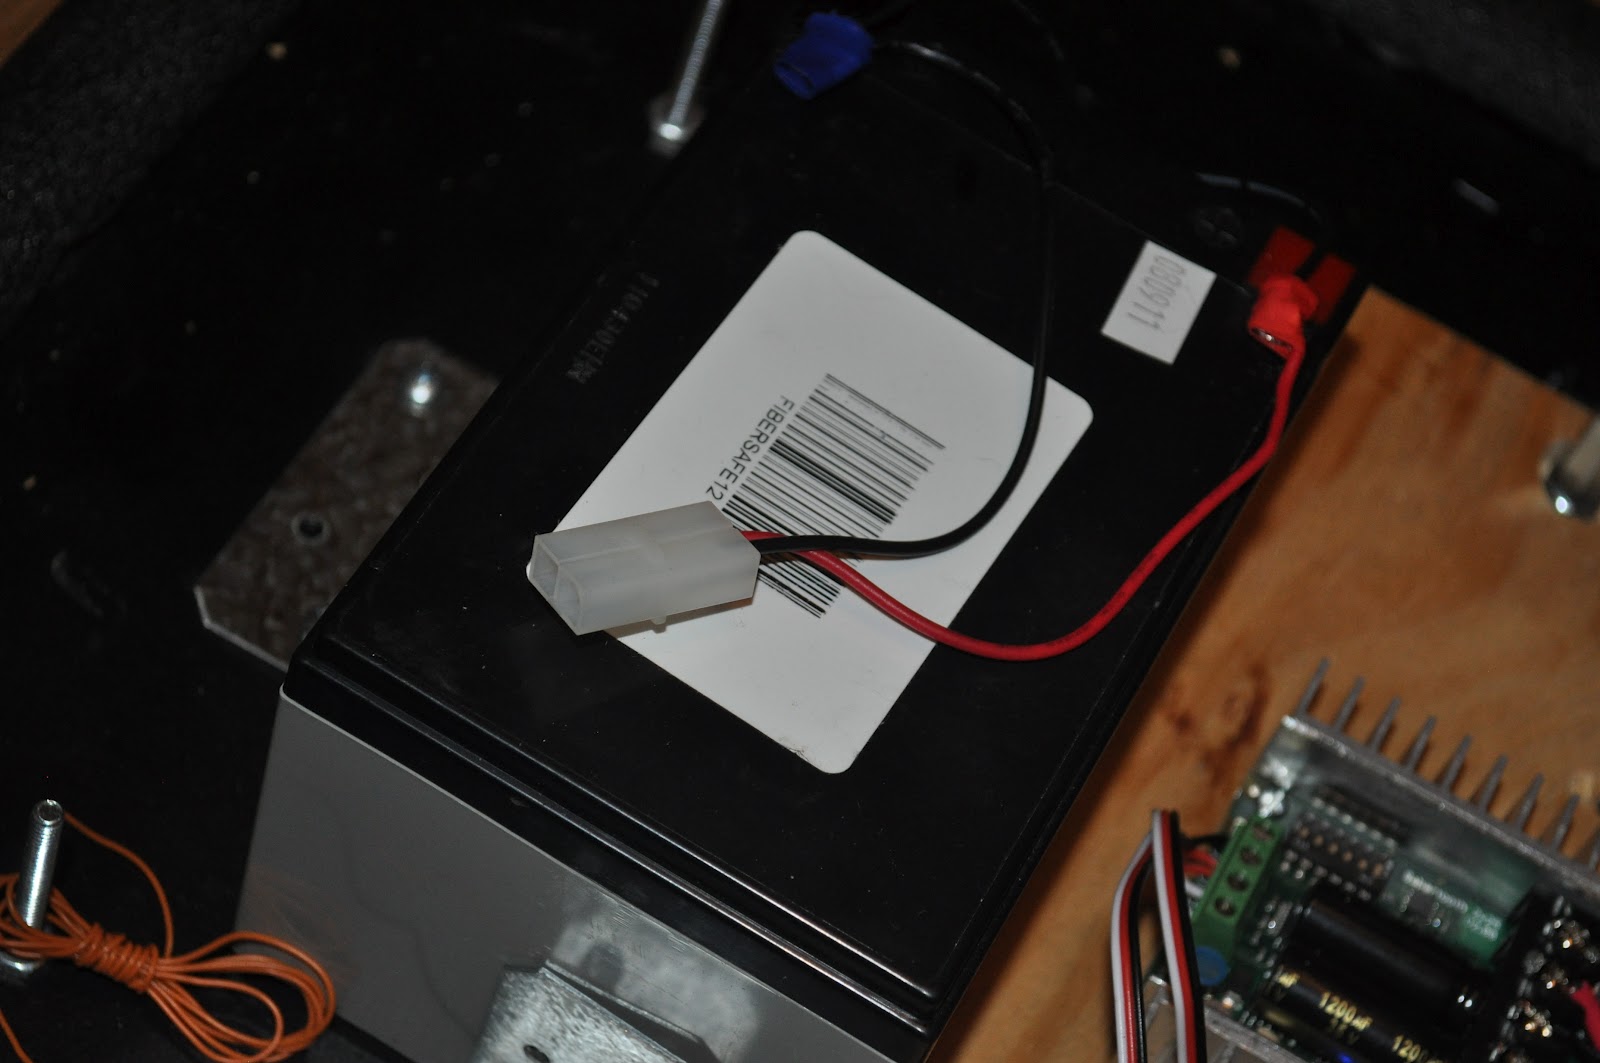
It'll also be good to know how long the battery will last. While wiring up the electronics I had to take into account I need easy access to the battery or at least an easy way of charging it, so I used the battery connector from the RC car I previously bought in an attempt to RC K-9 cheaply, I hated it! My battery charger was one I purchased from BGMicro.com I used the wire and connector from the old charger, saving me a few bucks AND making it easy to charge the battery within K-9


I decided I wanted to make a neat pendant for K-9, and so I came up with a design that I was happy with and I think it turned out OK...


I was also asked recently about the measurements for the control panel so I just put this together very quickly:

Hope it helps....
Now for the past weeks tinkering photos....
Week 7
 |
| you may notice I have the tail Servo connected to the reciever here, however this is not a good idea and Ive noe disconnected it. Theres a good chance it could damage the Sabertooth so dont do that! |
 |
| Sabertooth 2x25 |
 |
| Main power cutoff |
The switch is underneath the main base allowing for easier access, only thing I MUST remember is that the breaker is OFF when I charge the battery.

The biggest issue I think I faced was placement. I changed my mind several times before finally going with this setup...
The Tail...

I attached the servo to the body of K-9 using Velcro this allows me to make adjustments easier, but it holds the servo in place very well...
Ill post a video once I have the chains for the motors and its all working
Wow, he's coming along in leaps and er... trundles! nice idea about the waggy tail, and looking very neat and tidy indeed inside robomutt. Mine's going off for a major muzzle rebuild and some extra shell work before he gets new electronics added...
ReplyDeleteIt's coming along so nicely! You are a talented guy. It's amazing how our hobbies and dreams can push us into a creativity zone that produces the COOLEST things ever. Like this K9. (I still want to sand down all that fake rust. It looks eerily realistic!) =)
ReplyDelete